Building a DFIR Lab

Building a DFIR Lab: A Hands-On Approach to Cybersecurity
As the world of cybersecurity evolves, so do the tools and environments required for effective digital forensics and incident response (DFIR). The ability to investigate cyber incidents and analyze malicious activity is paramount to defending against today’s increasingly sophisticated threats. In this blog post, I’ll walk you through the process of building a DFIR lab from scratch, combining both Windows and Linux environments to set up powerful, specialized tools for malware analysis, endpoint detection, and security monitoring.
Objectives
Build FlareVM
- Create a dedicated Windows 10 VM in VMware Workstation.
- Prepare the VM to meet the prerequisites to install Flare VM.
- Download FlareVM from the official GitHub repository.
Aim: Establish a specialized Windows environment optimized for malware analysis and reverse engineering.
Download and Setup REMnux VM on VMware Workstation
Aim: Setup a Linux-based platform equipped with a comprehensive suite of malware analysis tools and utilities.
Install Wazuh as an EDR, XDR, and SIEM Solution
- Set up a dedicated virtual machine for Wazuh using Ubuntu or CentOS.
- Install and configure the Wazuh manager, agents, and Elasticsearch as per the official documentation.
Aim: Establish a robust security monitoring system capable of endpoint detection and response (EDR), extended detection and response (XDR), and security information and event management (SIEM).
Building FlareVM
I successfully built FlareVM using the following steps:
- Creating the Base Windows 10 VM: I initiated a Windows 10 VM via VMware Workstation.
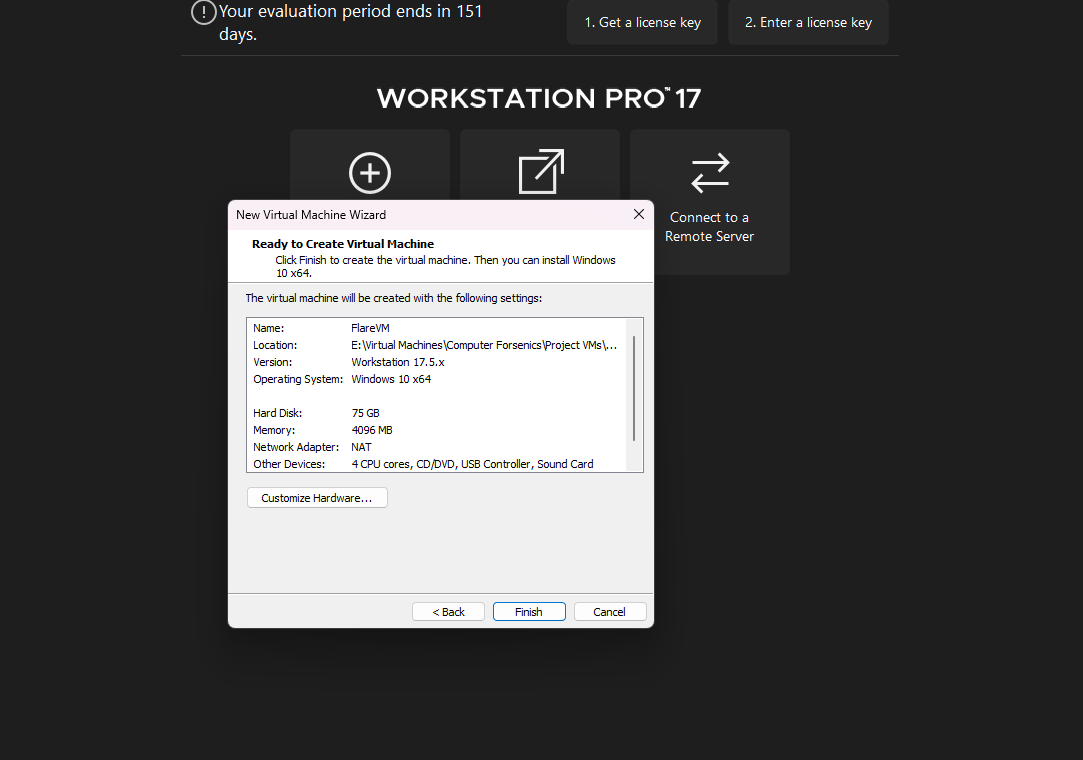 Windows 10 VMWare workstation Settings
- Setting Flare VM Prerequisites: After VM creation, I configured the prerequisites for Flare VM, including:
- Disabling Windows automatic updates
- Disabling Tamper Protection
- Disabling Windows Defender These instructions can be found on Flare VM’s GitHub page.
- Activating Flare VM Script: Once prerequisites were set, I activated the Flare VM script, which initiated the installation process. This process typically takes some time.
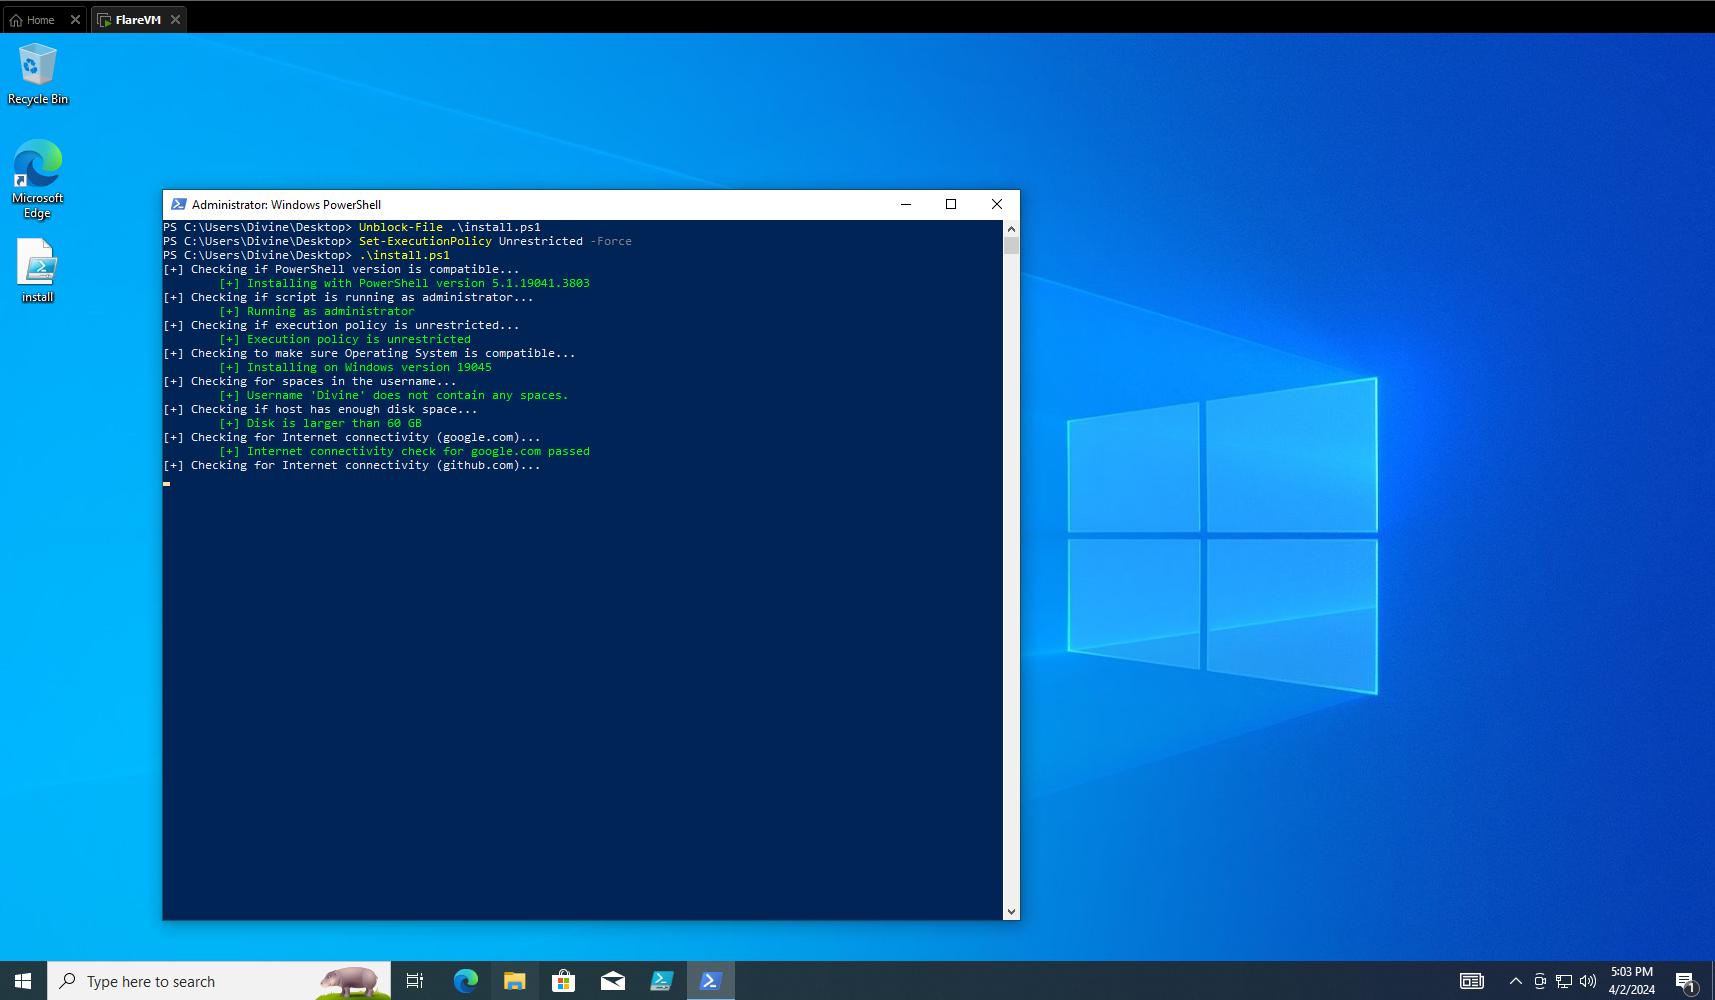 FlareVM Activation Script
- Completing Flare VM Installation: After a while, Flare VM installation was successfully completed. The entire process took approximately 1 hour 30 minutes to 2 hours.
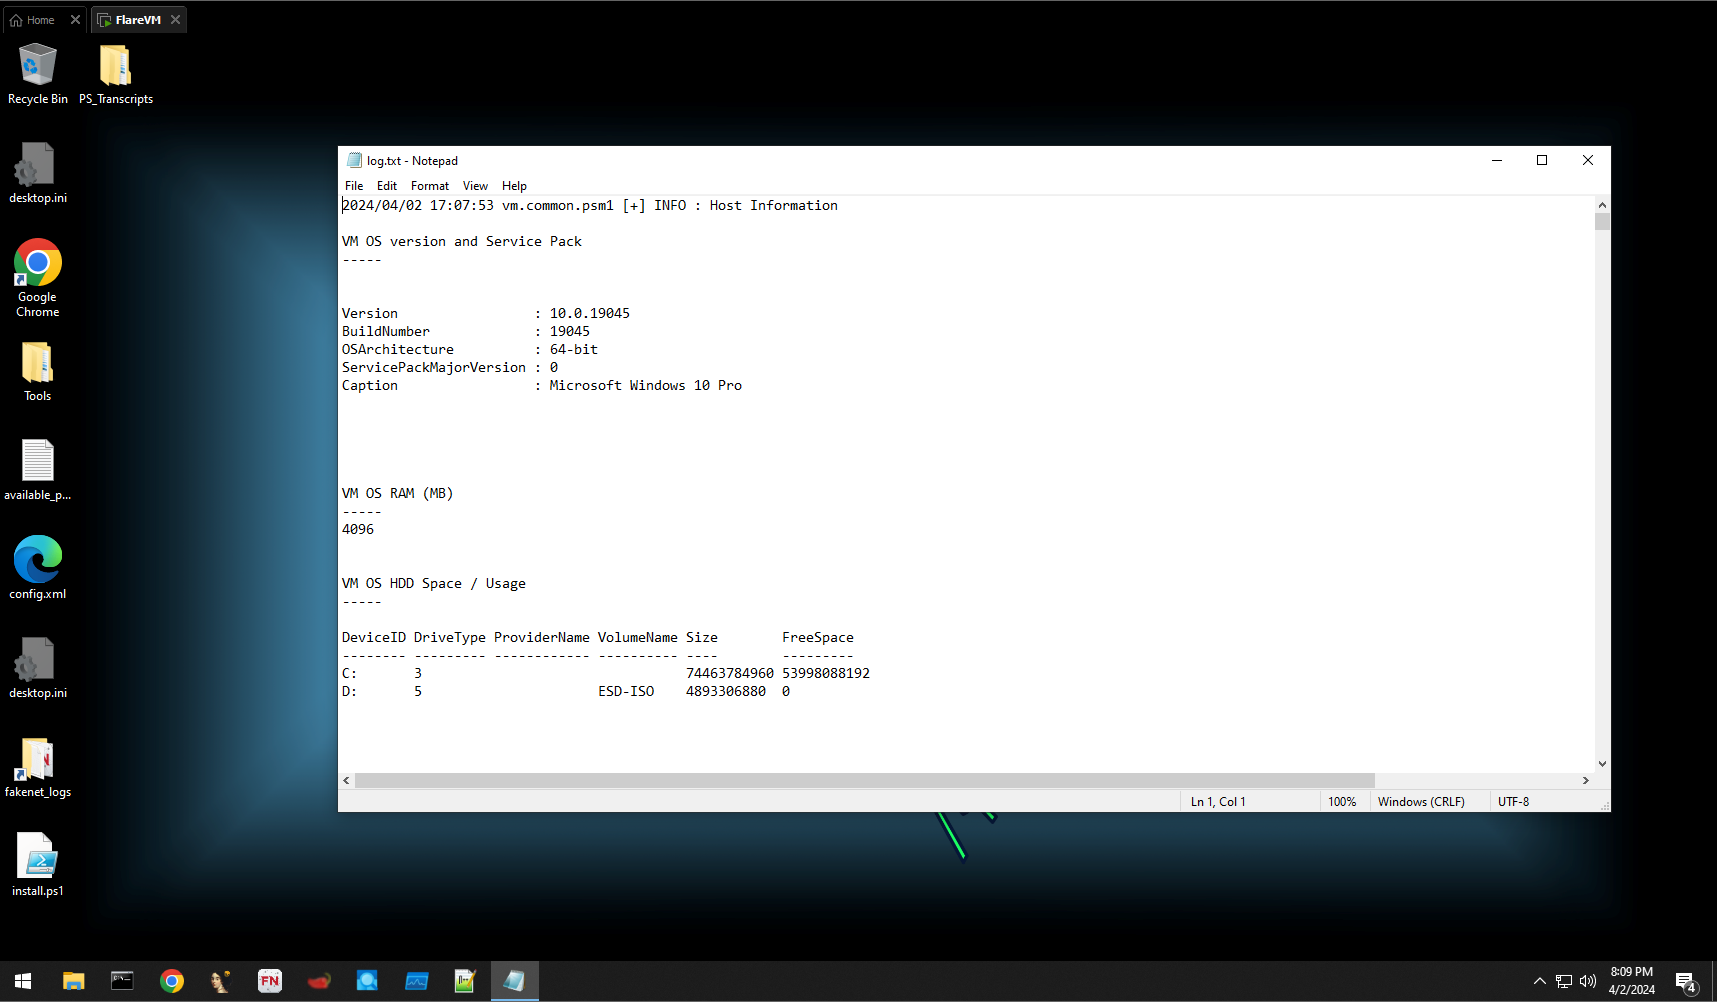 Post Installation
- Adding Additional Software: I noticed that the Flare VM script did not install Autopsy and FTK Imager, so I manually added them.
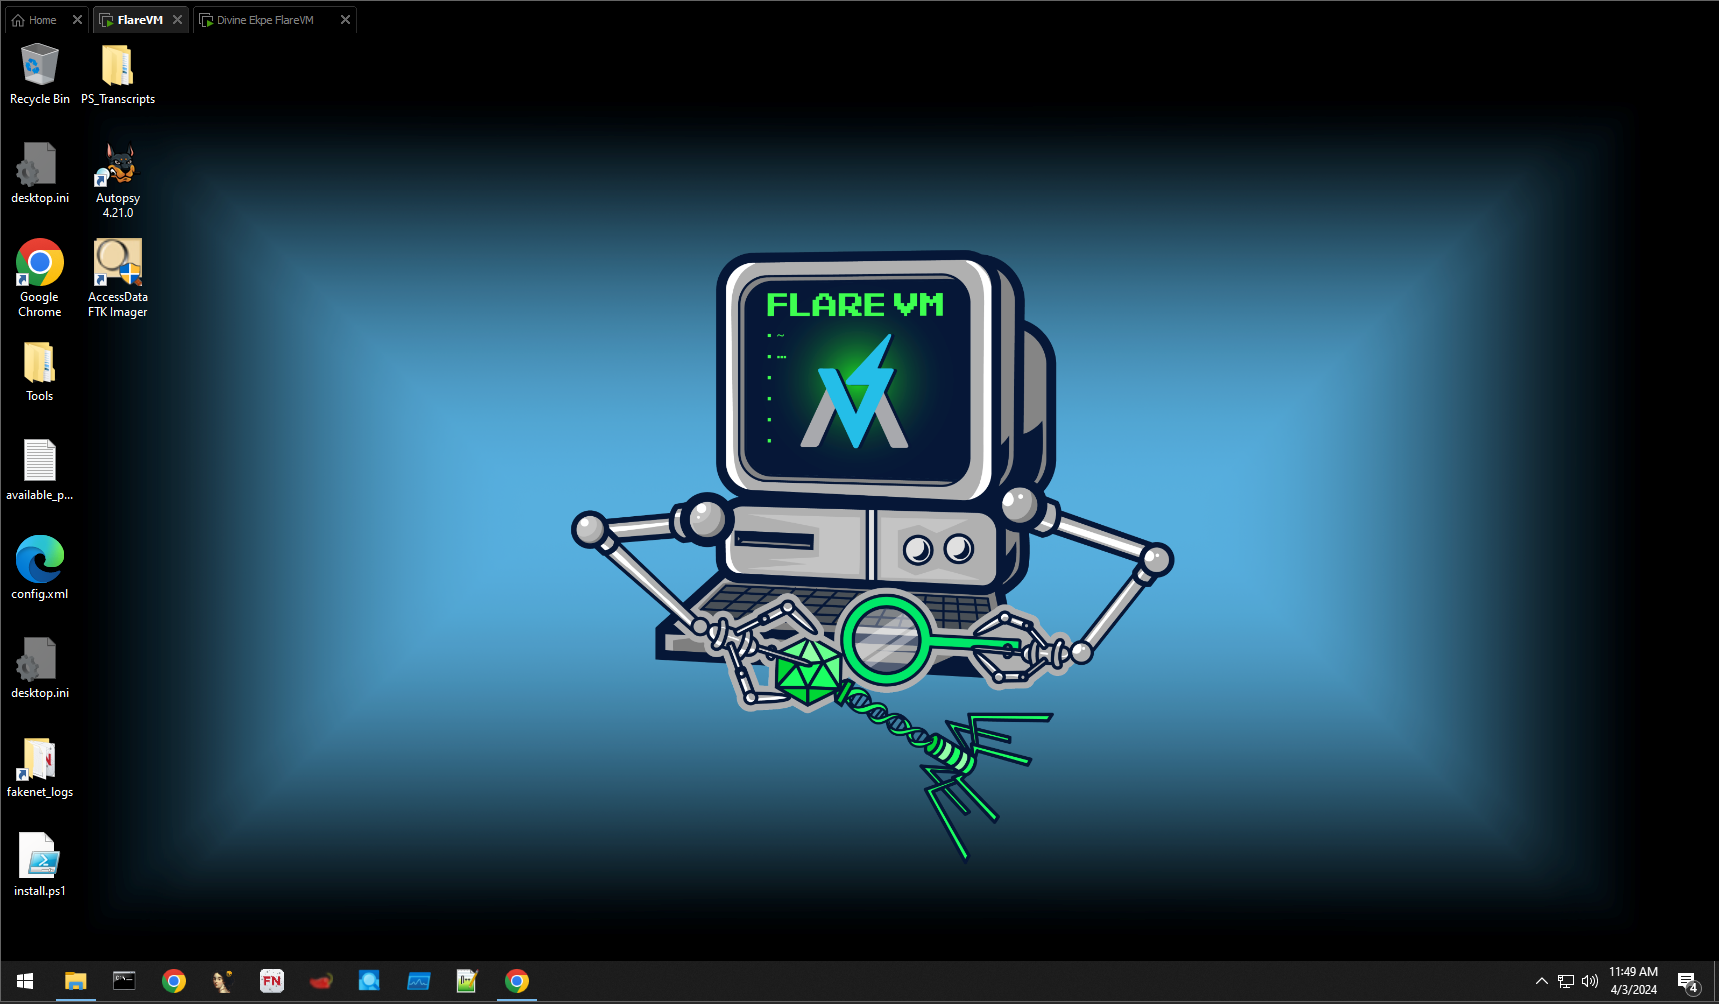 Completed State
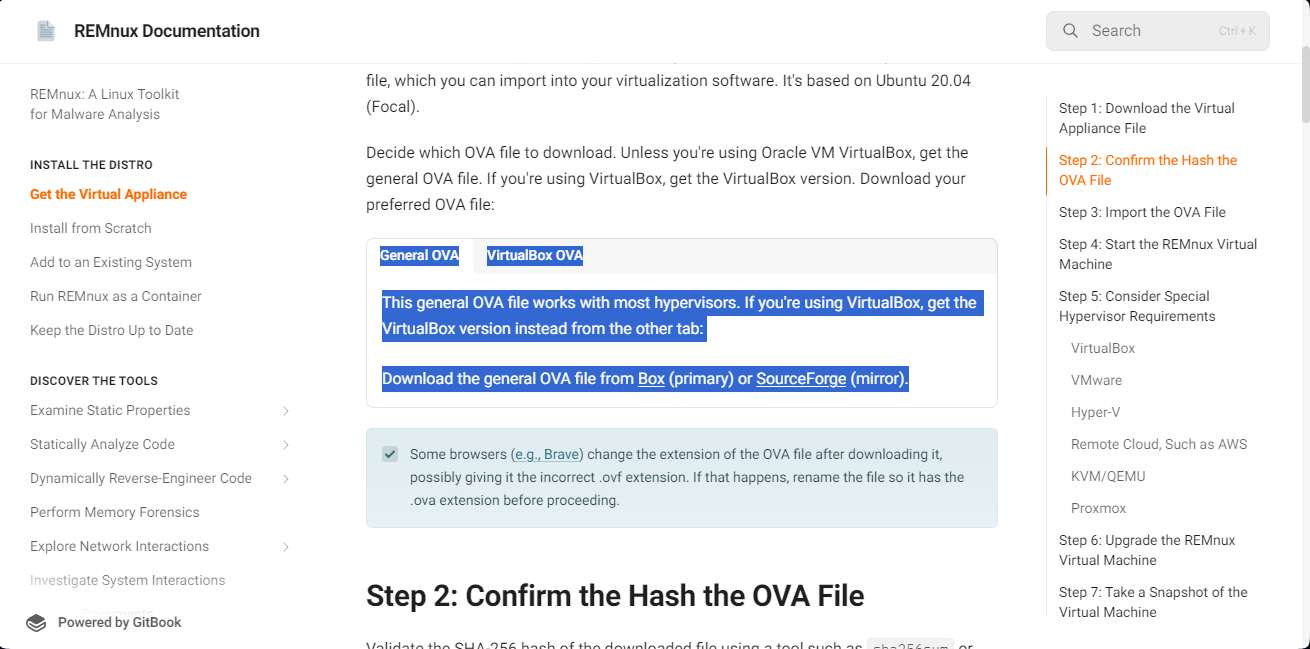
Downloading REMnux
The REMnux Virtual Machine was downloaded from this link and imported into VMware Workstation.
 Completed State
WAZUH Setup
WAZUH is a powerful open-source SIEM, EDR, XDR security solution. Here’s how I set it up:
- Creating a Linux VM: I created a Linux VM, preferably Ubuntu, to serve as the WAZUH server.
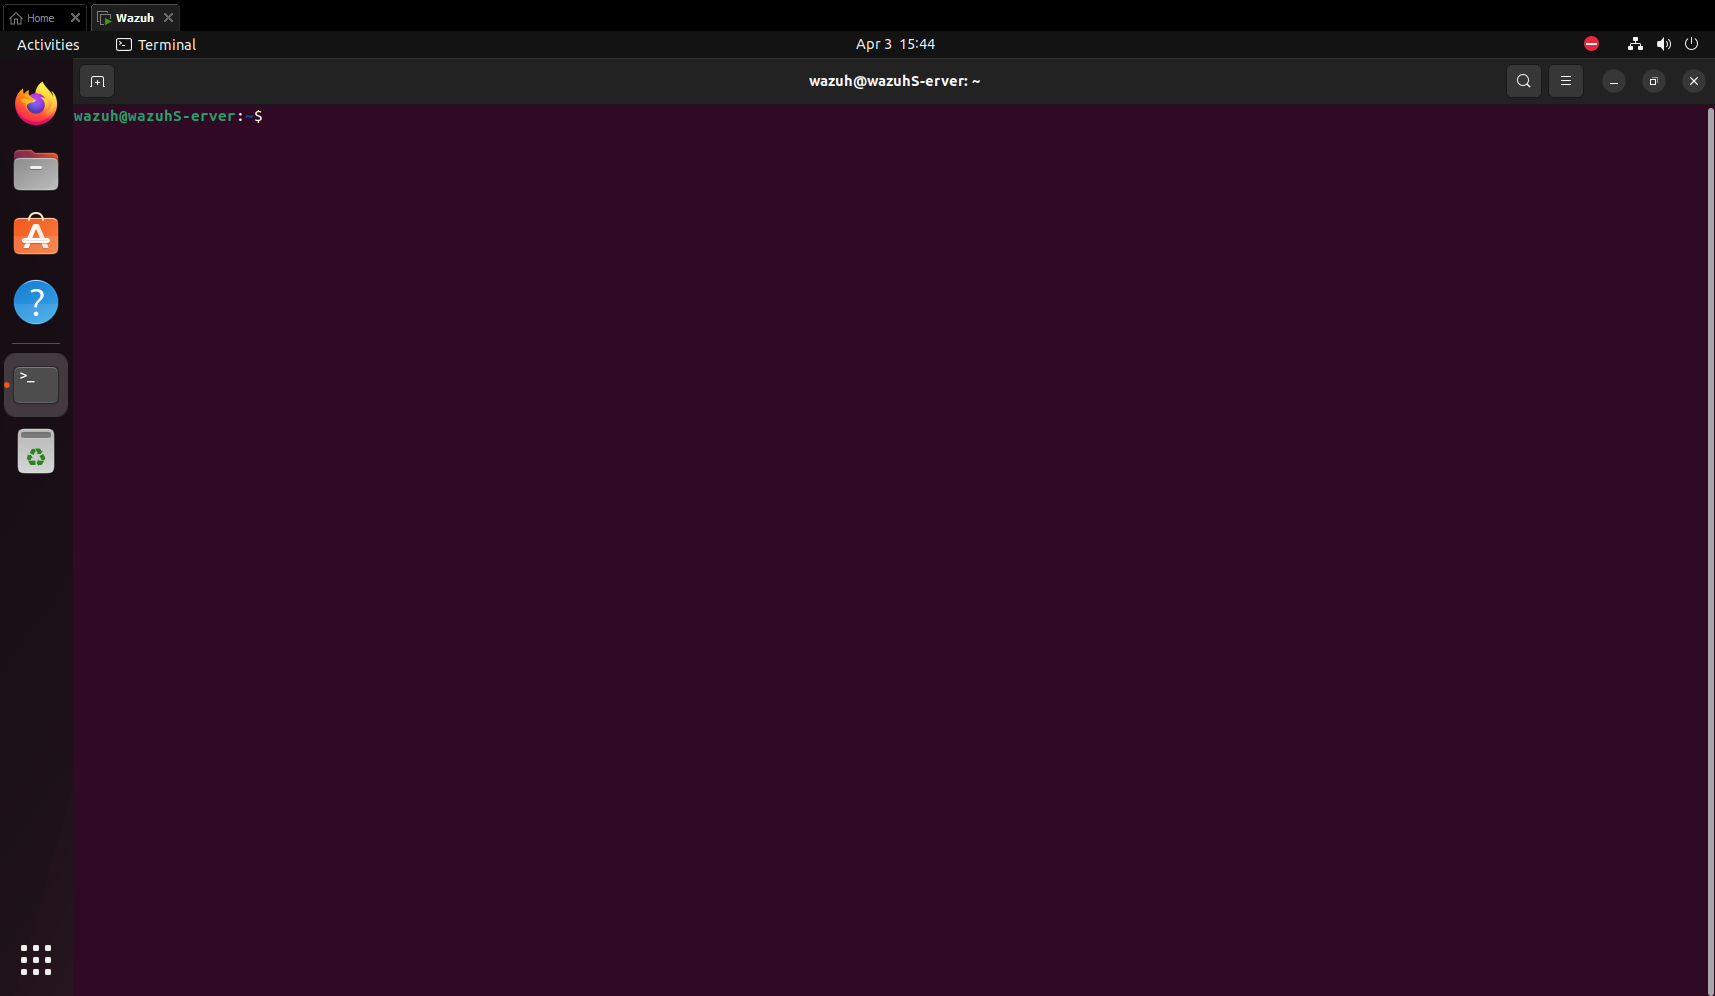 Ubuntu Wazuh
- Installing Wazuh Server: Following the documentation, I installed the Wazuh Server. Once installed, we could manage it through the web interface and deploy agents on the endpoints.
 WAZUH installation
- Deploying WAZUH Agents: WAZUH agents were deployed to REMnux and FlareVM for comprehensive security monitoring.
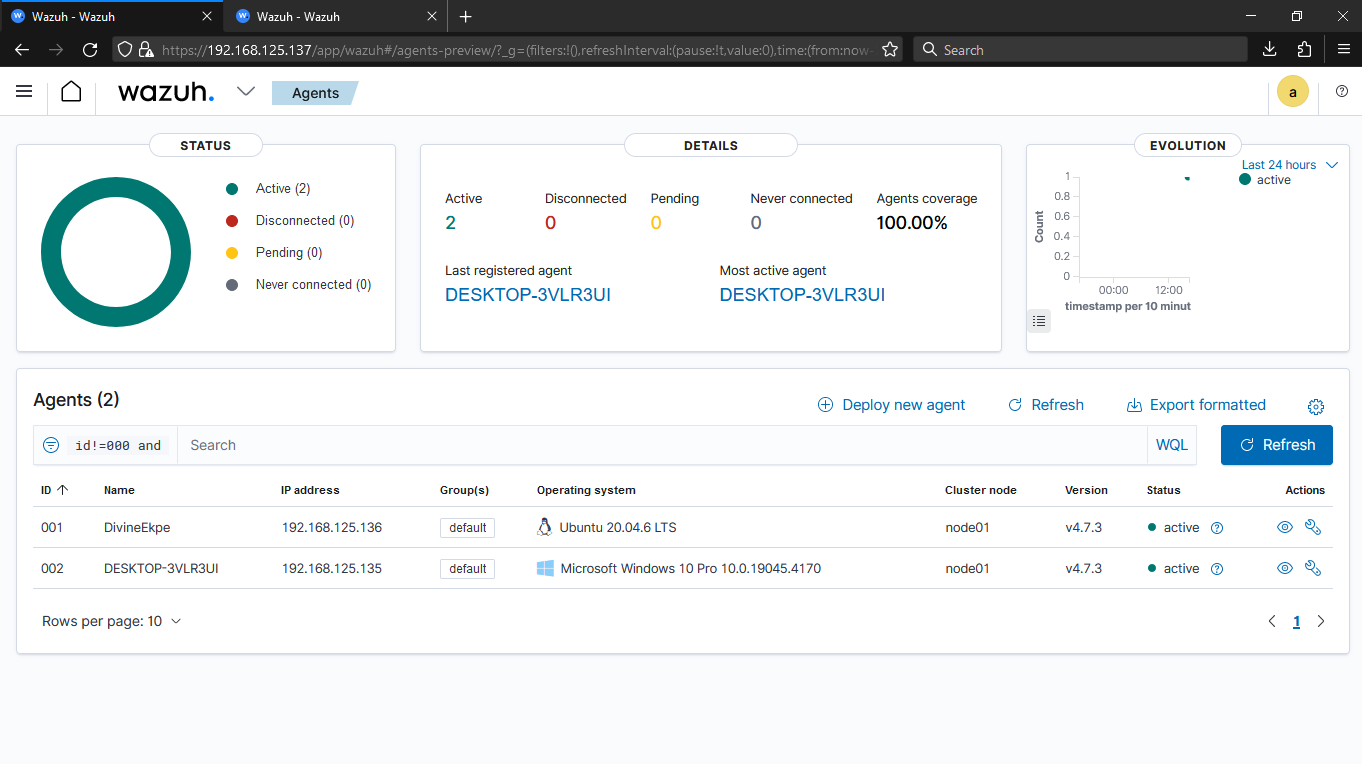 Agents Deployed on Endpoints
Conclusion
Building a DFIR lab demonstrates my commitment to lifelong learning and professional development in cybersecurity. By creating a dedicated space for practical experimentation and exploration, I am laying the groundwork for my continuous growth and mastery in the field of digital forensics and incident response.